Extra feature ideas
As you think about what kind of scene you'd like to render for the rendering competition, here are some ideas of technical features you could consider adding to help you render more complex and realistic scenes.
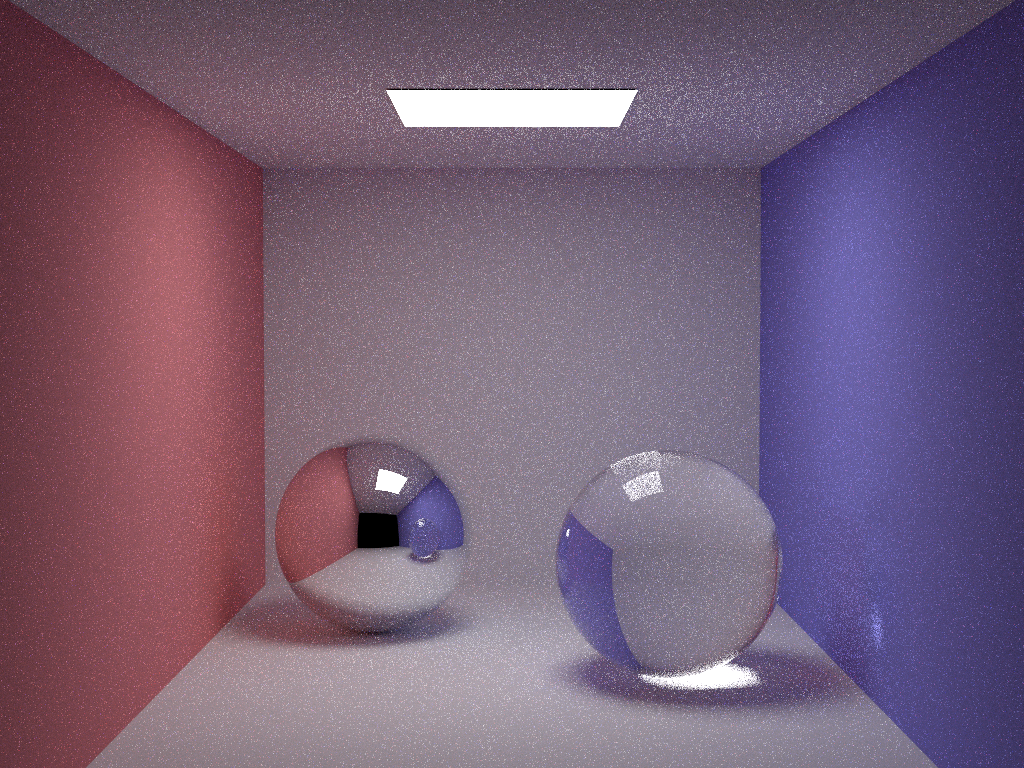
Image-based lighting/environment mapping
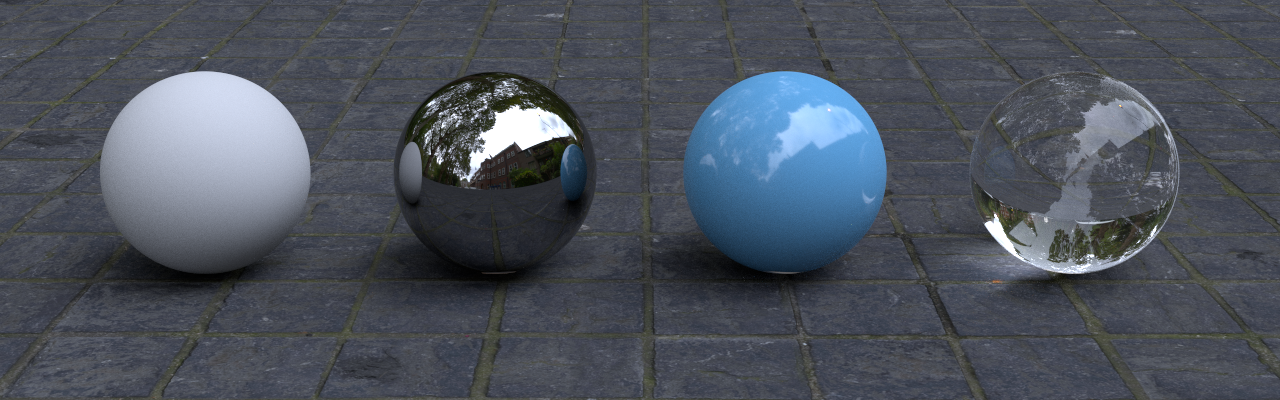
Just like texture mapping can add realistic complexity to surface details, image-based lighting using HDR environment maps provides a simple and effective way to create more realistic lighting within your virtual scene.
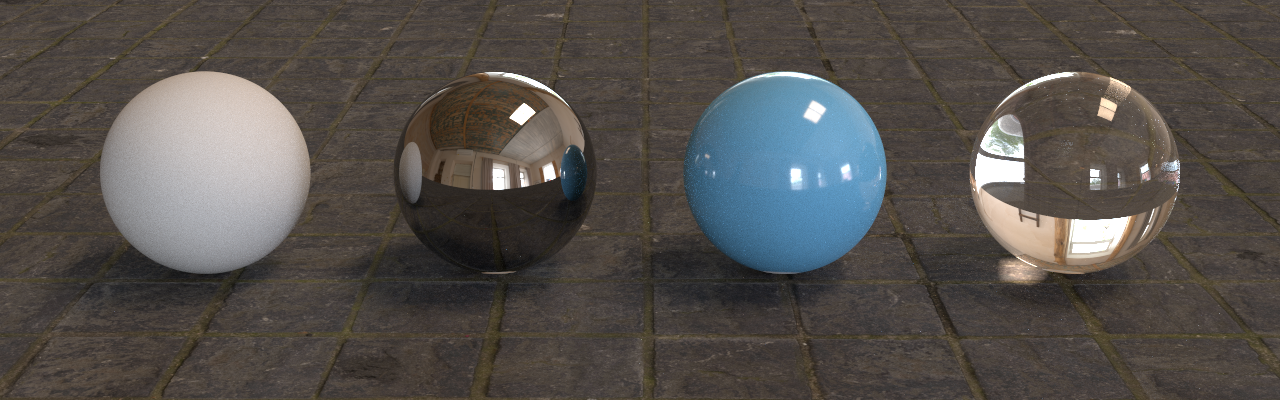
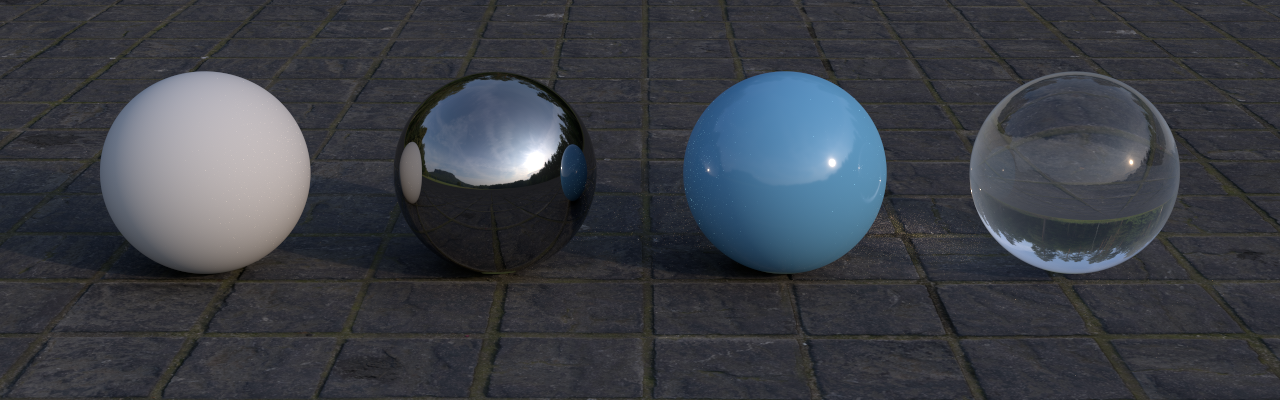
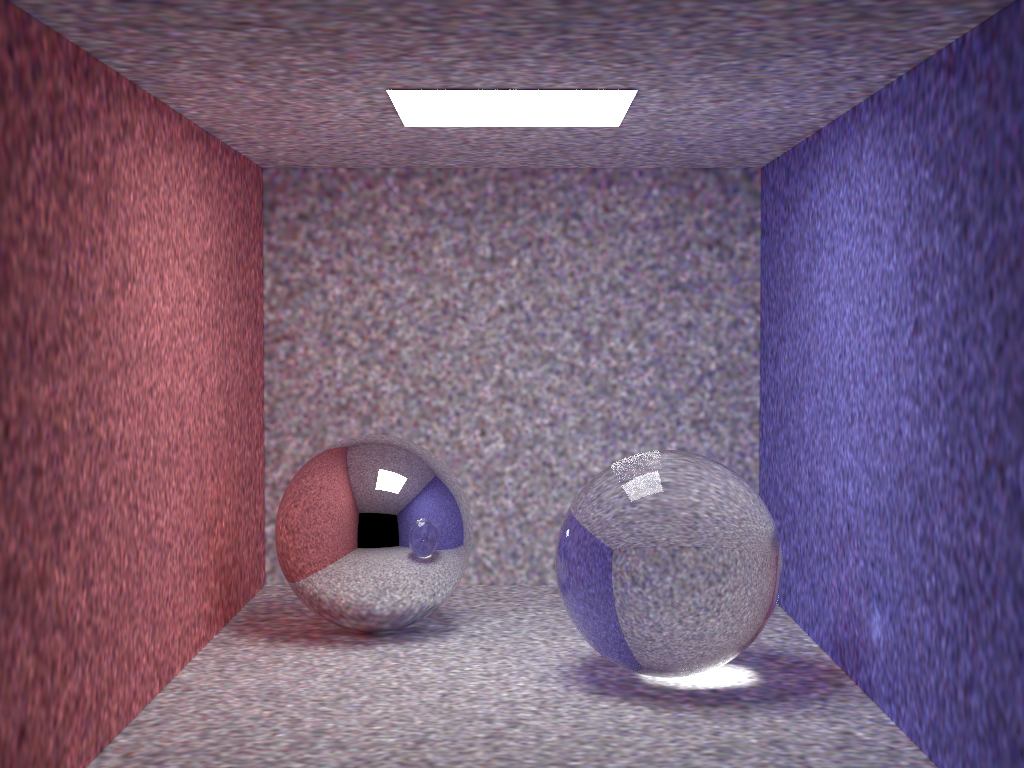
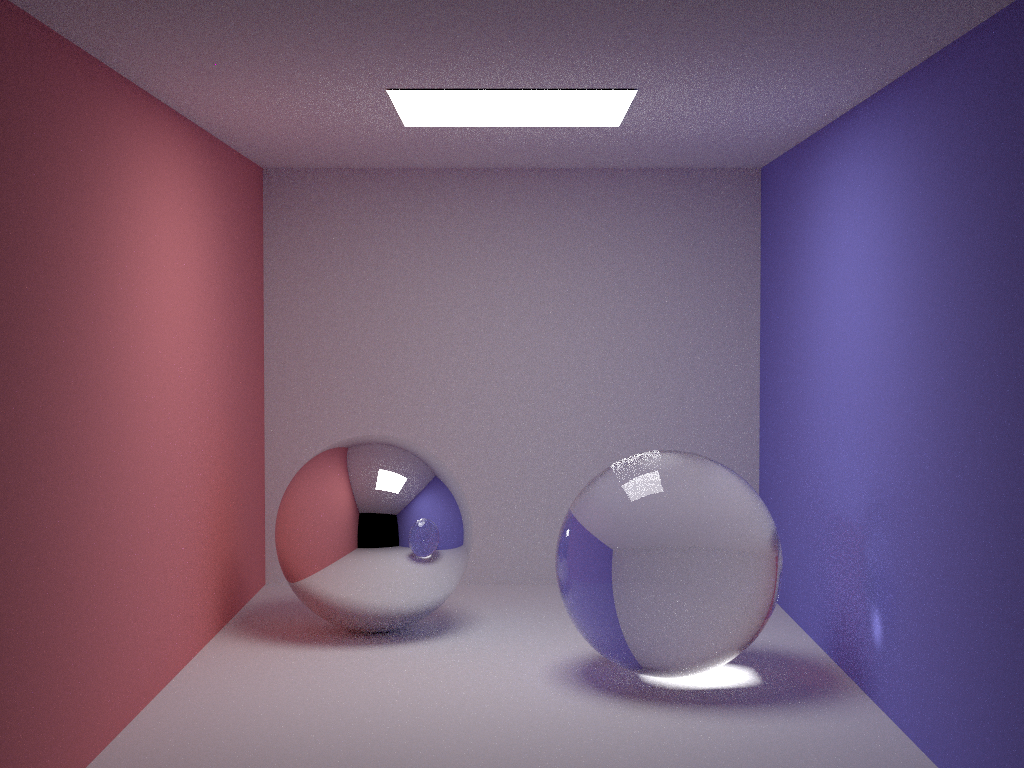
Importance sampling shadow rays towards the bright regions of the environment map will allow you to render such scenes much more efficiently. The comparison below shows a few spheres with different materials illuminated by four different environment maps. Notice how the lighting plays a critical role in the final look, even when the scene is otherwise identical – overcast environments produce soft shadows, and ones with clear sunny skys produce crisp shadows. We downloaded these environment maps from Poly Haven, which also has hundreds of others available to download for free.

Better samplers
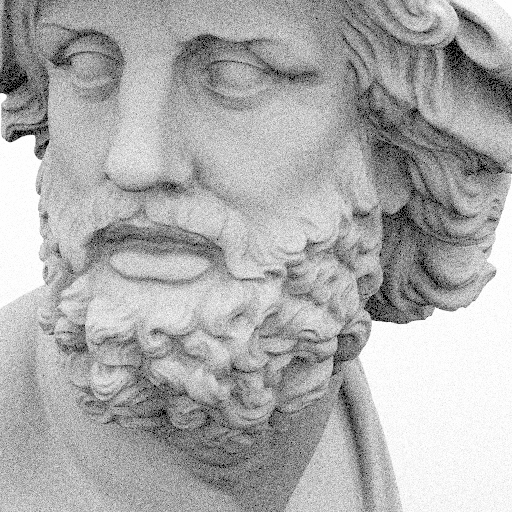
We can often reduce Monte Carlo noise considerably by replacing the independent random numbers with stratified, blue-noise, or quasi-random samples. Consider implementing improved samplers for your final project. The comparison below shows the impact of replacing the independent random sampler with statified sampling, Pixar's "Stochastic Sobol sampling", or our very own "Orthogonal Array sampling" (co-developed by Efnan Enayet, an undergraduate student from a previous iteration of this course!).
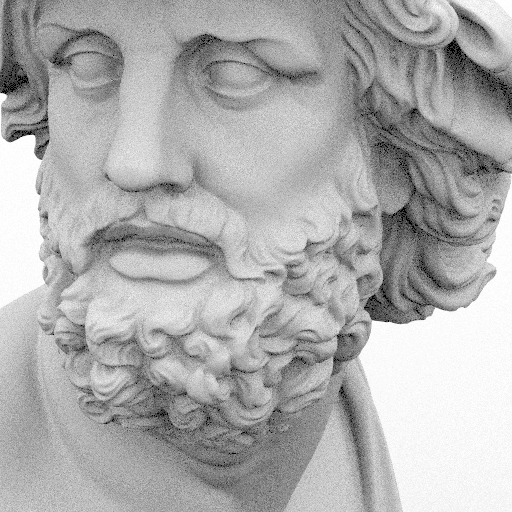

An orthogonal approach is to try to make the error in the rendered image as close as possible to "blue noise". A good starting point for this approach is Georgiev and Fajardo's 2016 approach. While quantitatively the error isn't reduced, qualitatively our eyes perceive much lower error!
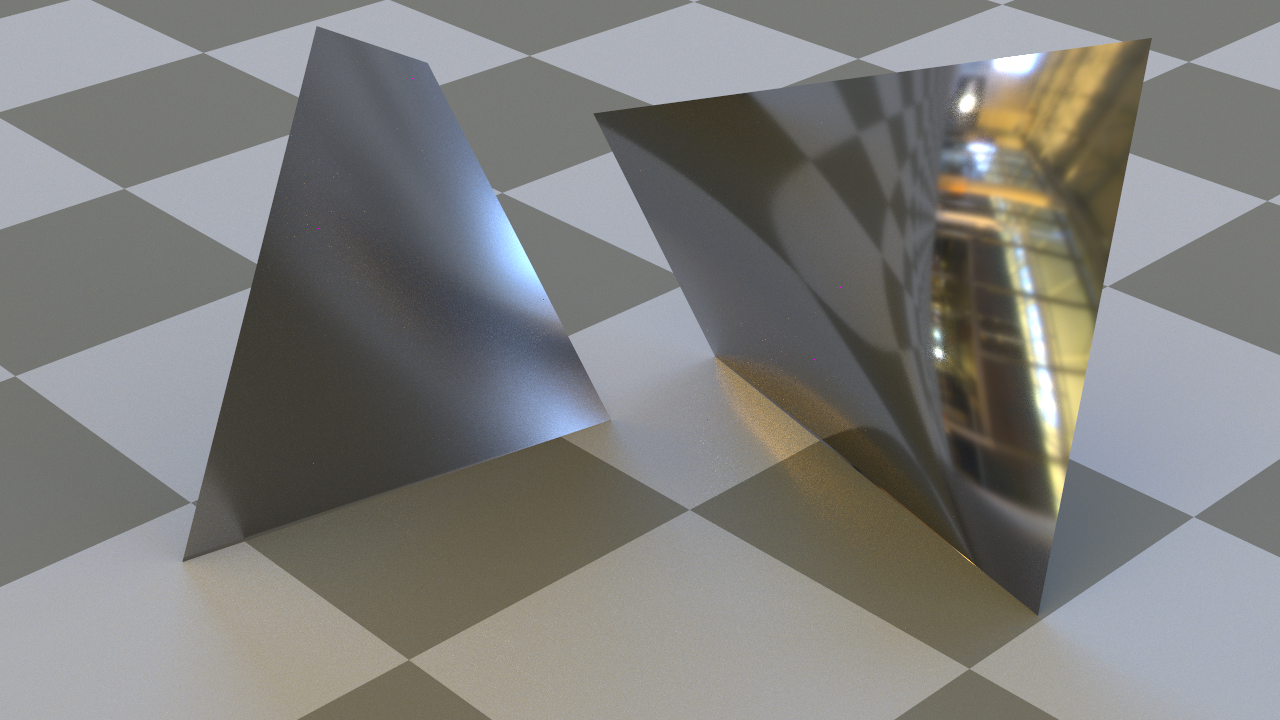
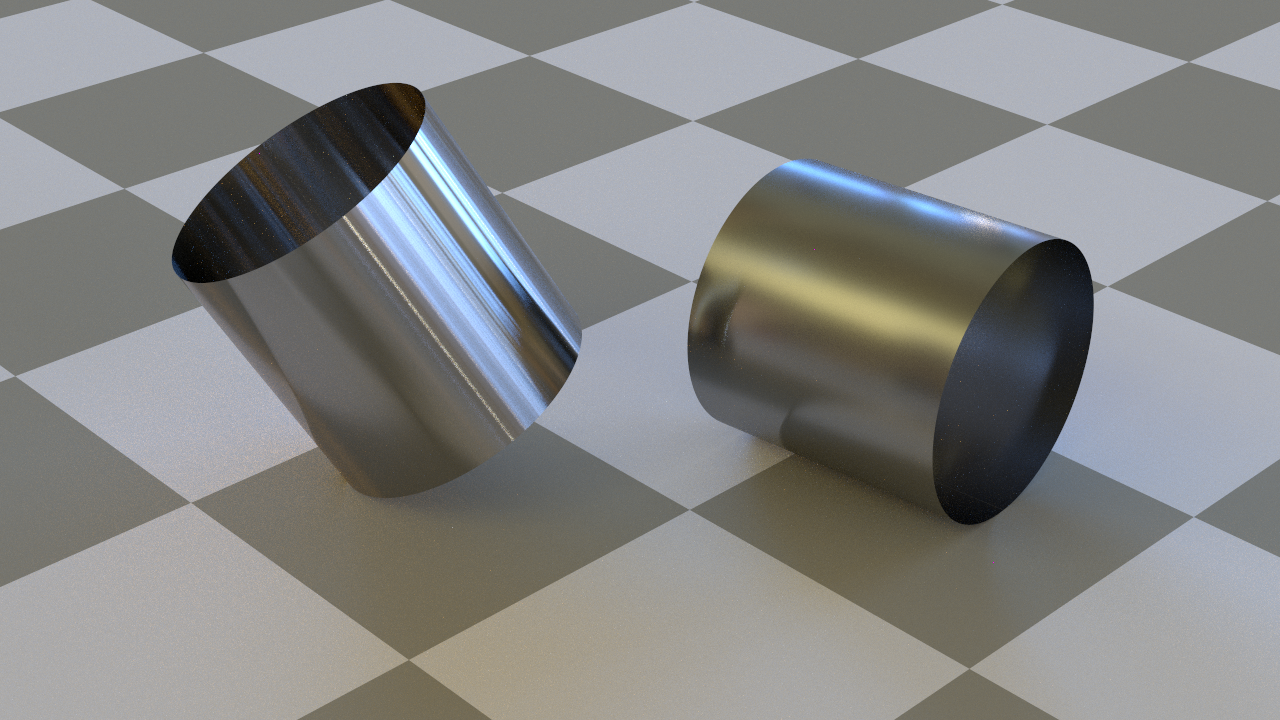
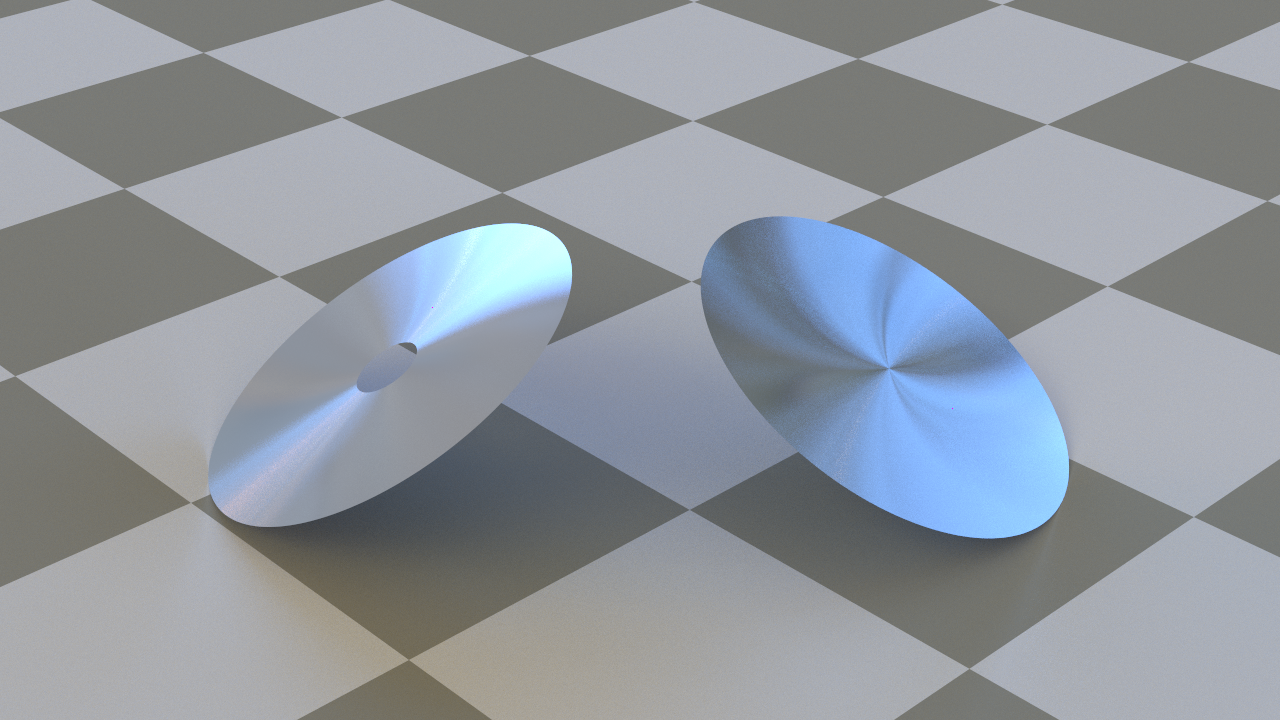
Other surfaces
Triangle meshes are likely the most common geometric primitive you will use, but it can sometimes be convenient to have other surface types readily available. One of the strengths of ray tracing is that you can add any geometric representation that supports a ray intersection query. Here is a gallery of various new surface primitives we have implemented (or existing ones which we've extended) in our version of darts which you can use as inspiration.
If you are interested in enriching the surface types your renderer supports, start with Chapter 3 of the PBRT book, or ask the course staff for specific suggestions.


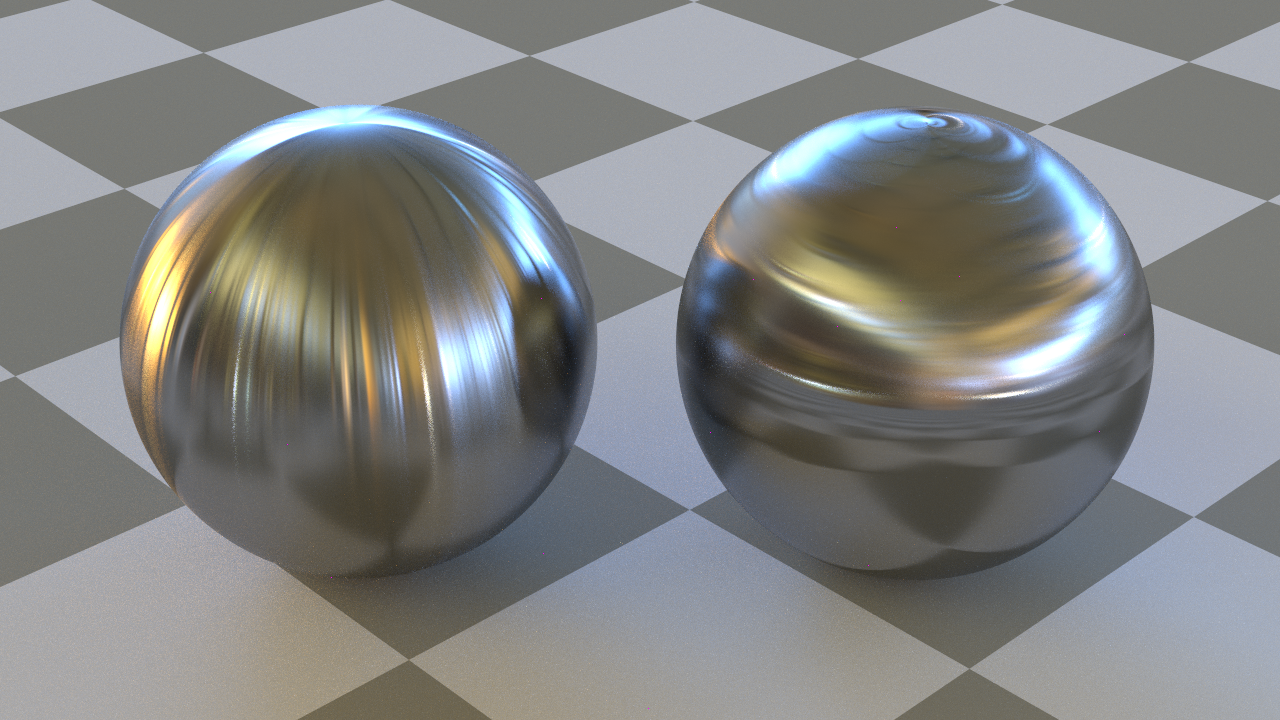
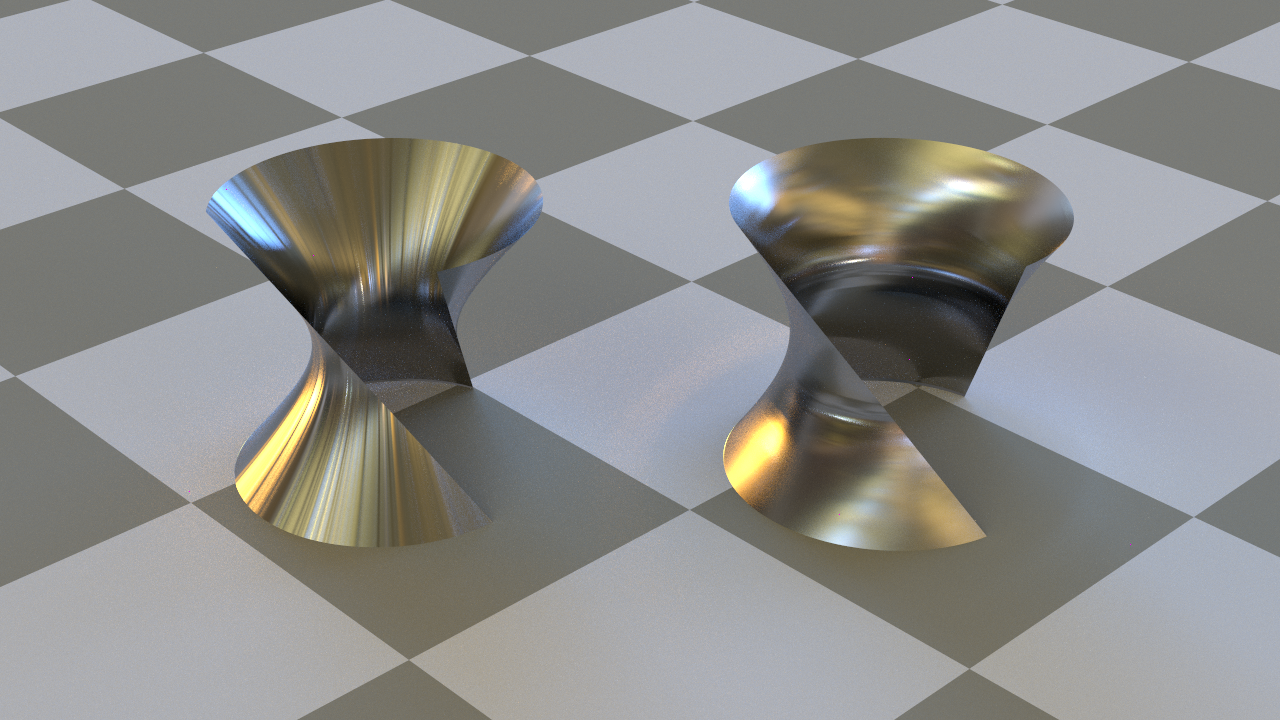
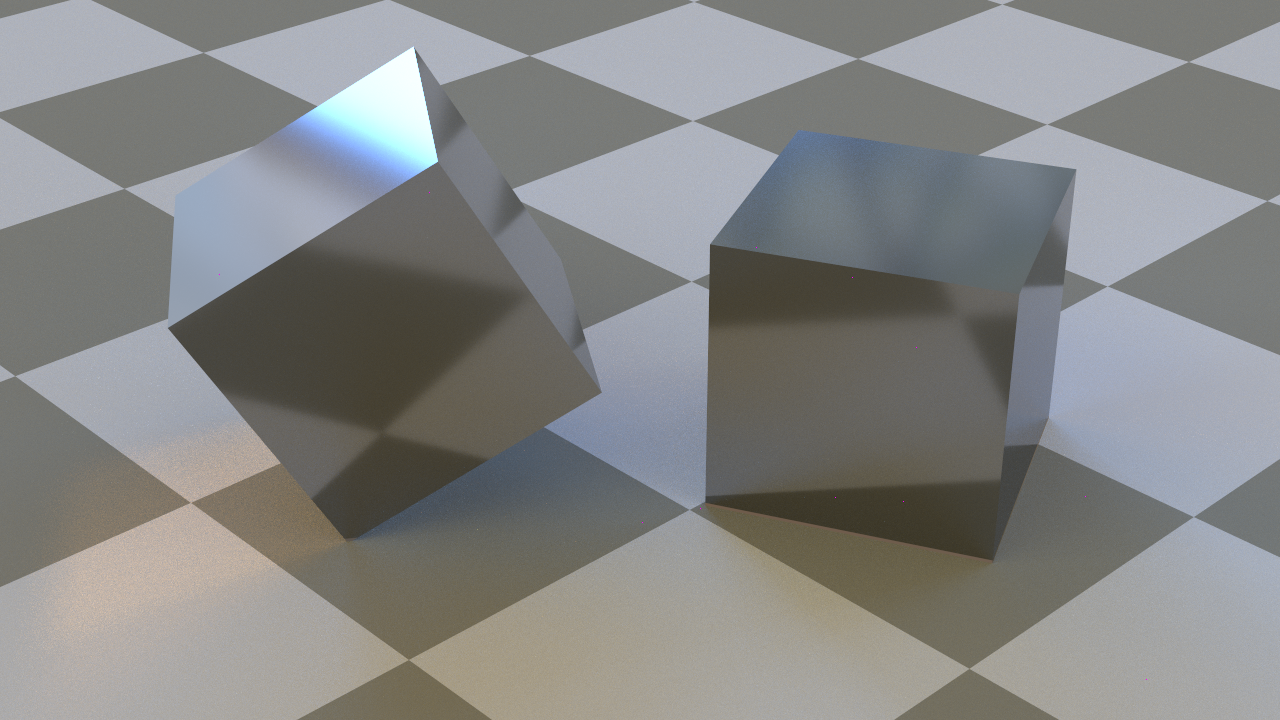
Microfacet materials and anisotropic reflection
The Phong and Blinn-Phong models we implemented are a good starting point, but they fail to capture many important aspects of real rough surfaces. Microfacet-based BRDF or BSDF models do a much better job. While you are at it, you could add support for different roughness values along the two parametric directions of the surface to simulate materials like brushed metal. This will require you to compute not just a surface normal at each shade point, but globally consistent tangent vectors that define the local orientation of the roughness along the surface.
The gallery below shows several examples of isotropic and anisotropic rough microfacet BRDFs applied to various surfaces.

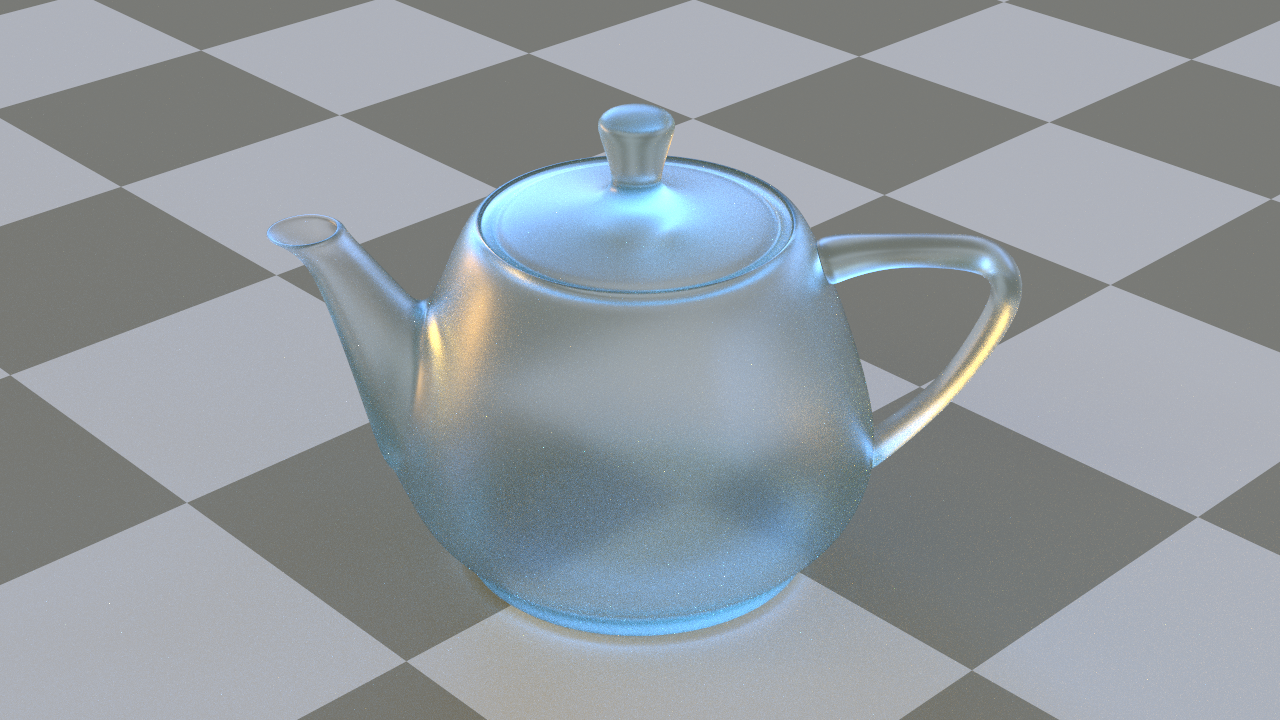
Volumetric absorption and rough dielectrics
To simulate materials like glass more realistically it is important to account for the fact that light has a small chance of being absorbed as it travels through the medium. Compared to just tinting the refracted light at the surface, modeling this as volumetric absorption gives the glass a more substantial greenish tint in regions where the light has to travel further through the glass, or deeper brown for light that passes through more of the absorbing tea.
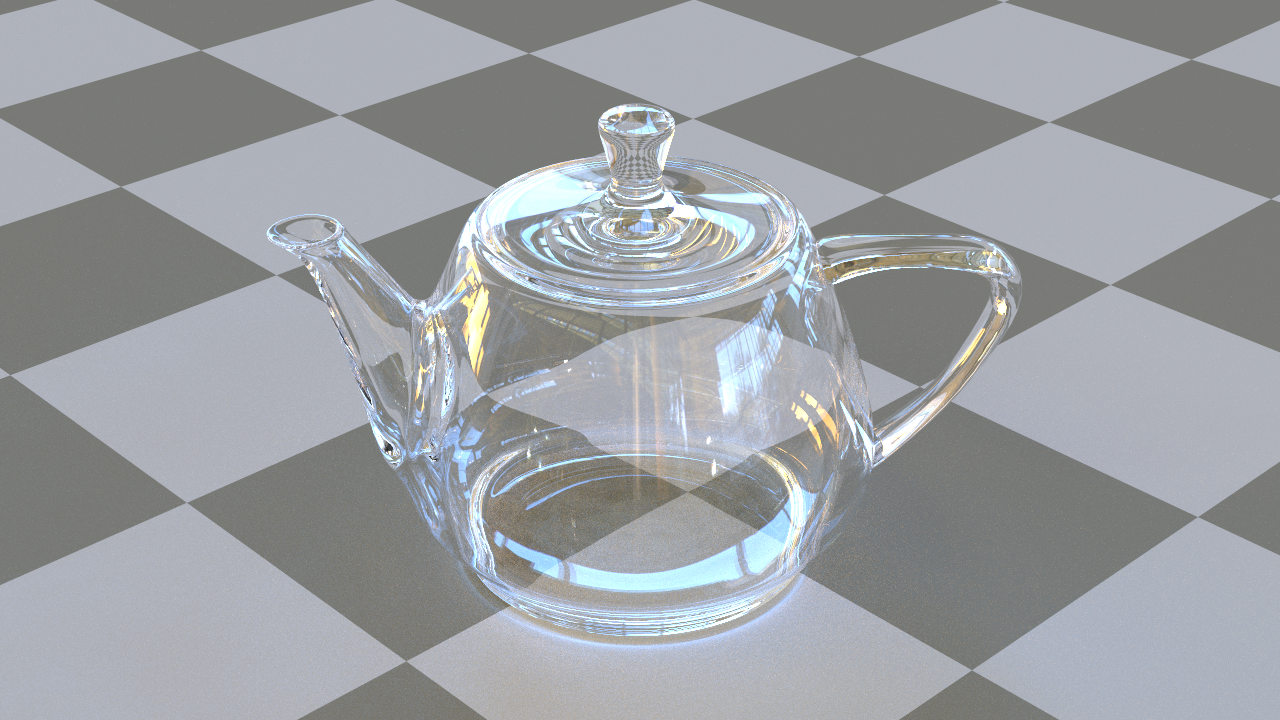
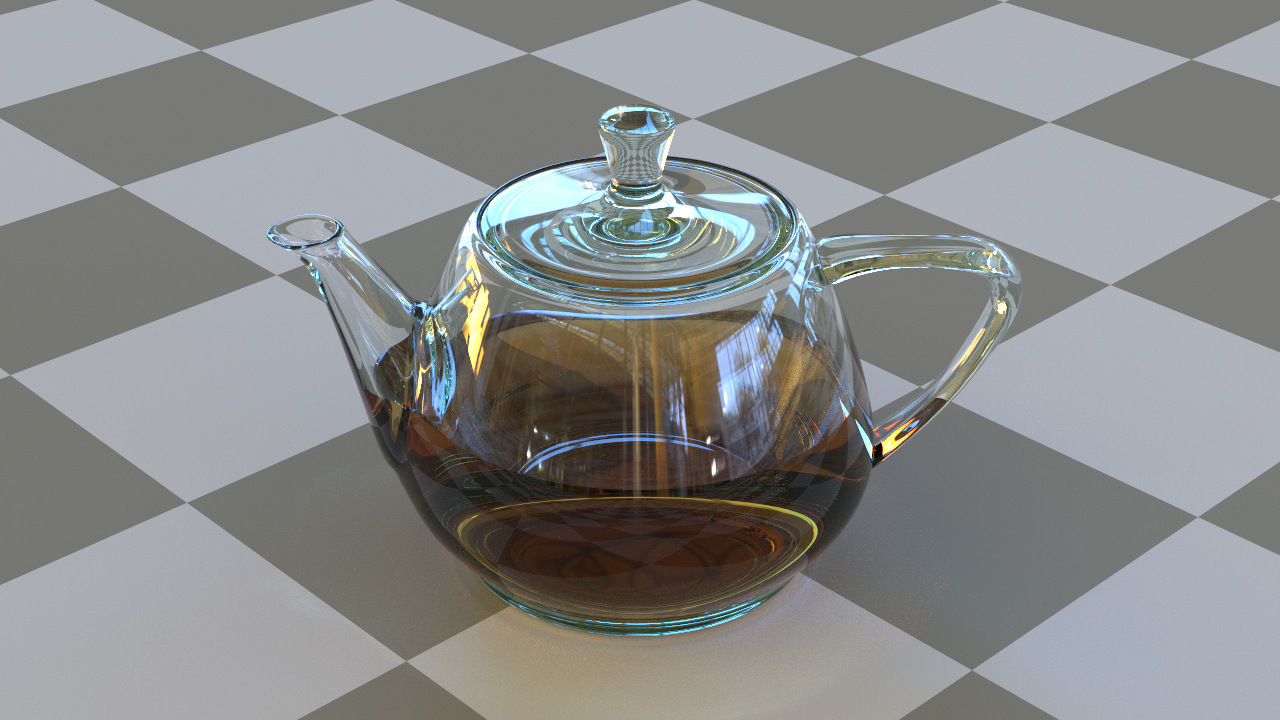
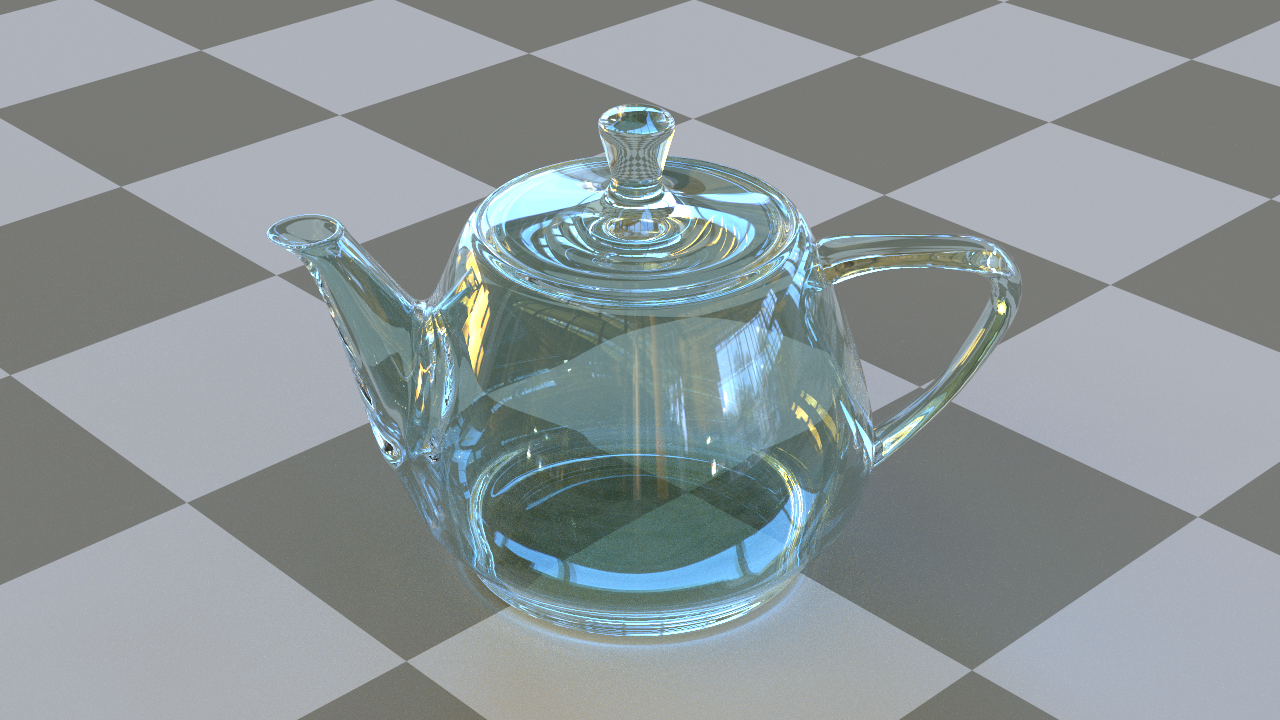
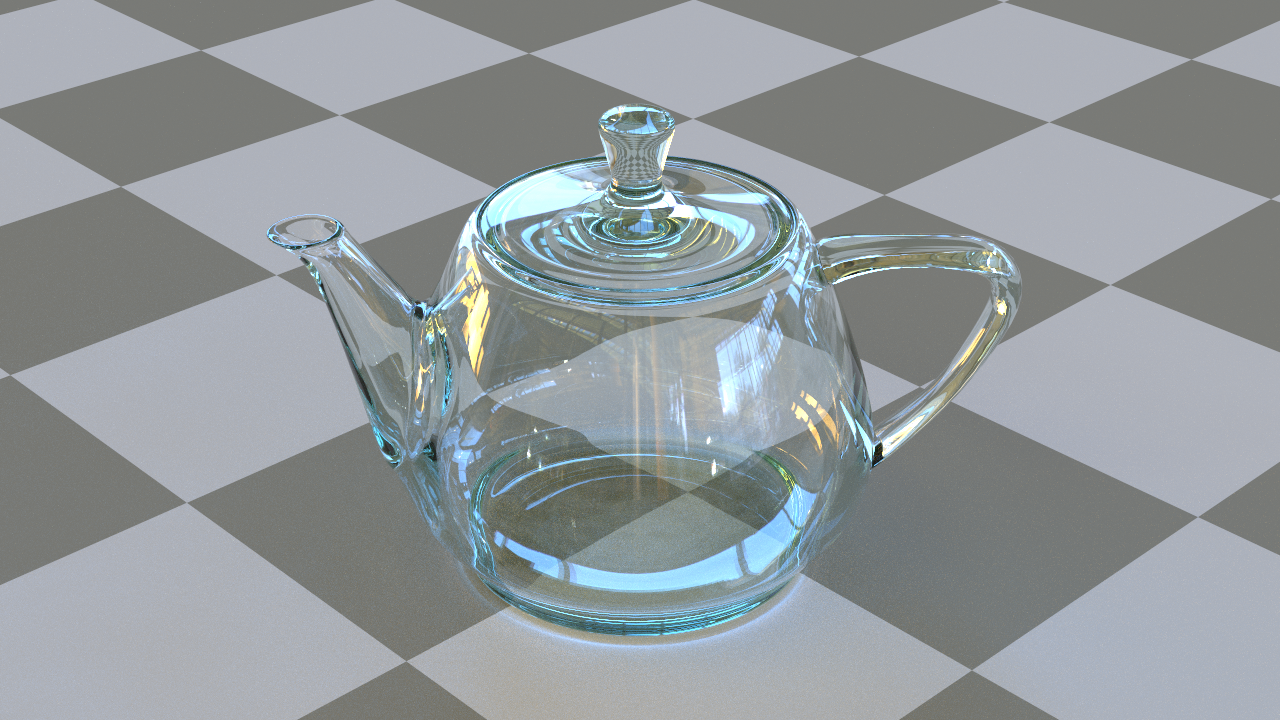
Additionally, to simulate materials like frosted glass you will need a microfacet BSDF model that supports refraction and not just reflection.
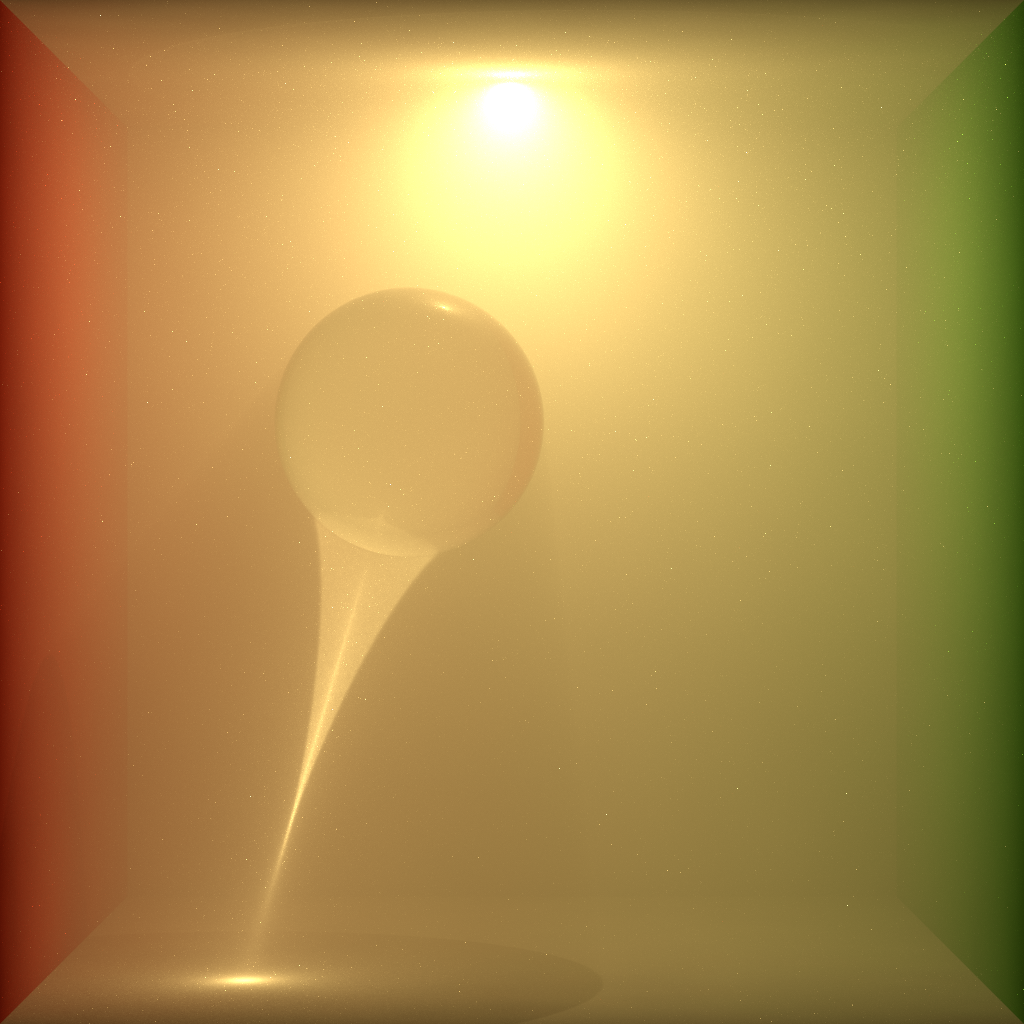
Photon mapping
Certain light paths – like caustics – are tricky to simulate with path tracing, causing fire-fly noise unless a truly enormous number of samples are taken. Photon mapping excels at simulating such caustic paths, and can also accelerate other global illumination light paths. The images below show equal-render-time comparisons between path tracing and two versions of photon mapping. A basic version of photon mapping that directly visualizes the photon map leads to noticeable blotchy artifacts and blurring. These can be removed by looking up into the photon map only after some number of indirect bounces.
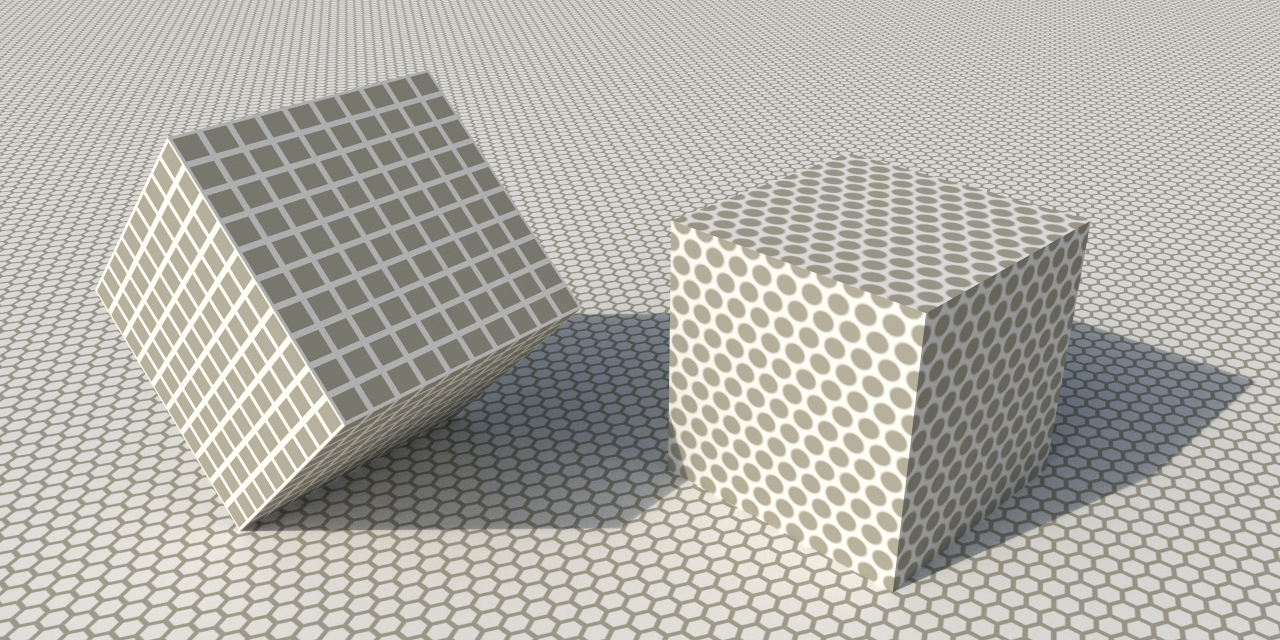
Bump mapping and normal mapping
Bump mapping or normal mapping are powerful ways to add the appearance of increased geometric details without actually increasing the geometric complexity. The images below show the impact of adding a normal map. Just as with anisotropic reflection, these techniques will require you to first add globally consistent tangent vectors to your surfaces.

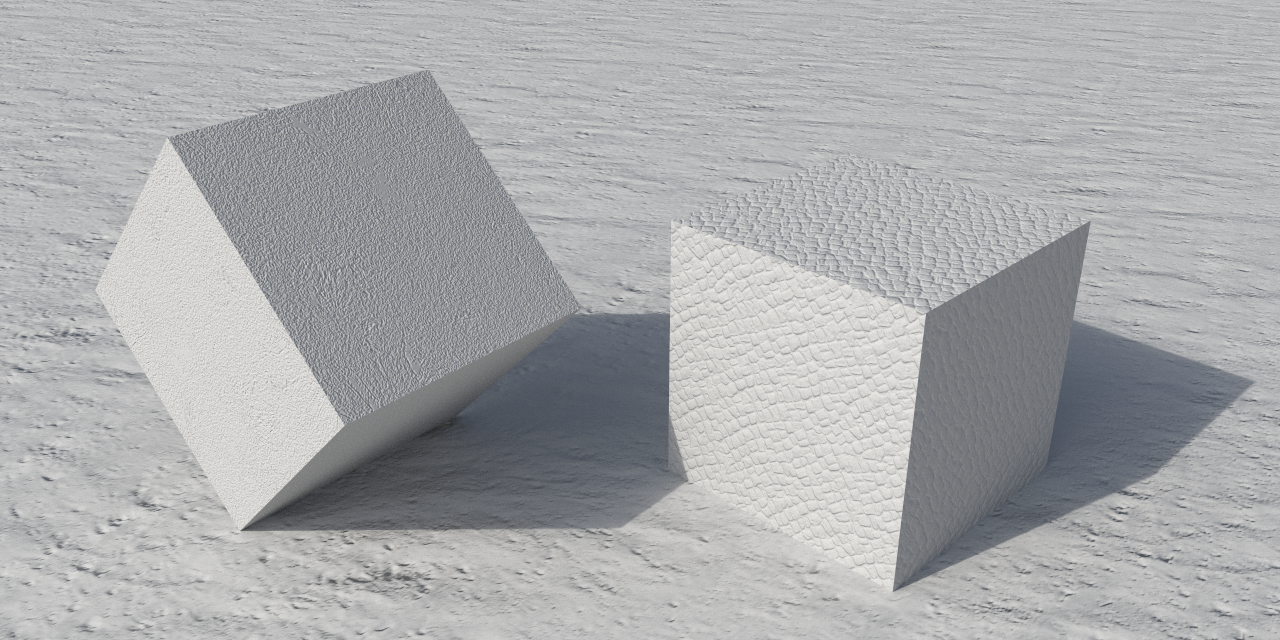
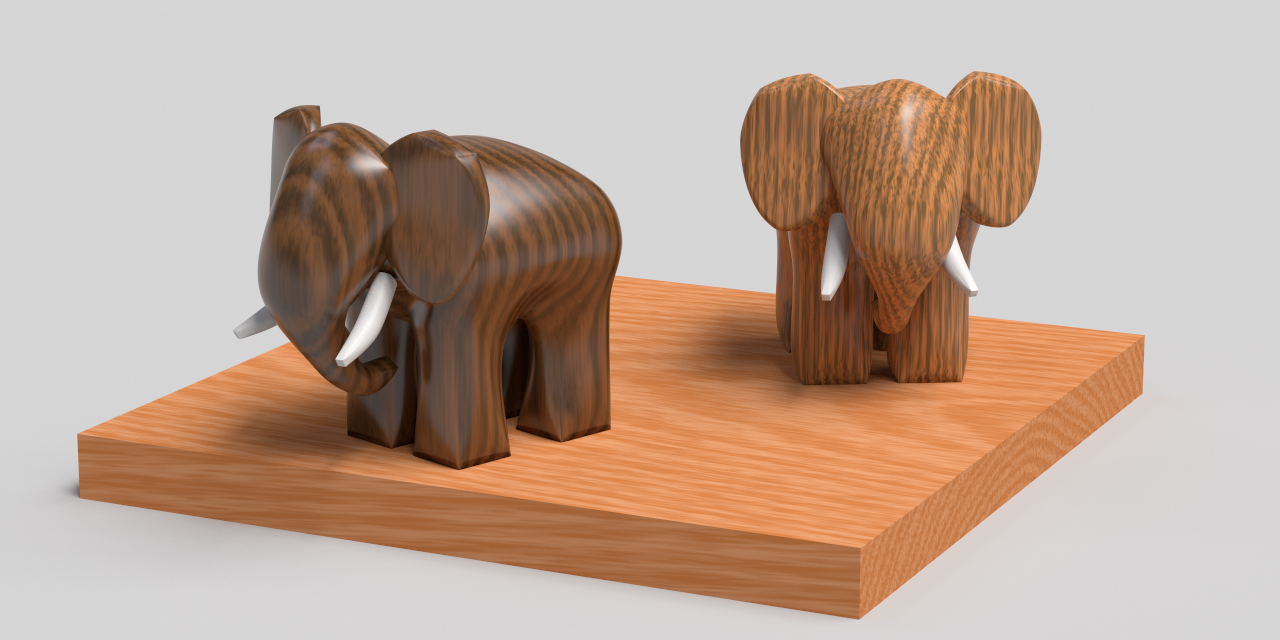
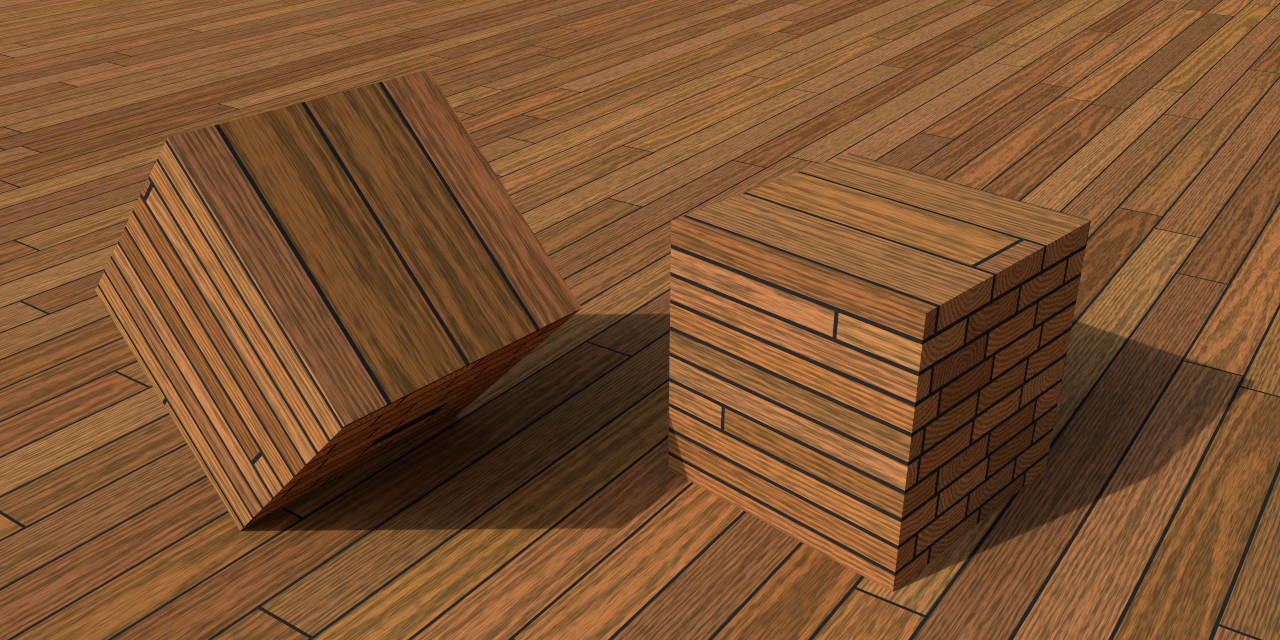
More texturing/Ray differentials
Consider adding more texturing functionality to darts. You could create more complex procedural textures than what we explored in prior assignments, like the oak plank texture shown below. You could implement some of the other types of noise, like Worley noise or simplex noise.
In order to be perform better antialiasing of textures, you could consider implementing ray differentials. Ray differentials allow you to estimate the footprint of a pixel on a shaded surface so you can compute an average texture value (using for instance mip-mapping) instead of a point sample. It's even possible to design procedural textures that are analytically pre-filtered based on the pixel footprint to avoid aliasing! Chapters 2.5.1 and 10.1 of the PBR book are a good place to get started on adding ray differentials to darts, and then check out these references [1, 2, 3, 4] to get started designing antialiased procedural textures. The Advanced Renderman book by Apodaca and Gritz is also a fantastic resource on procedural texturing, but it is out of print and therefore a bit hard to come by these days.
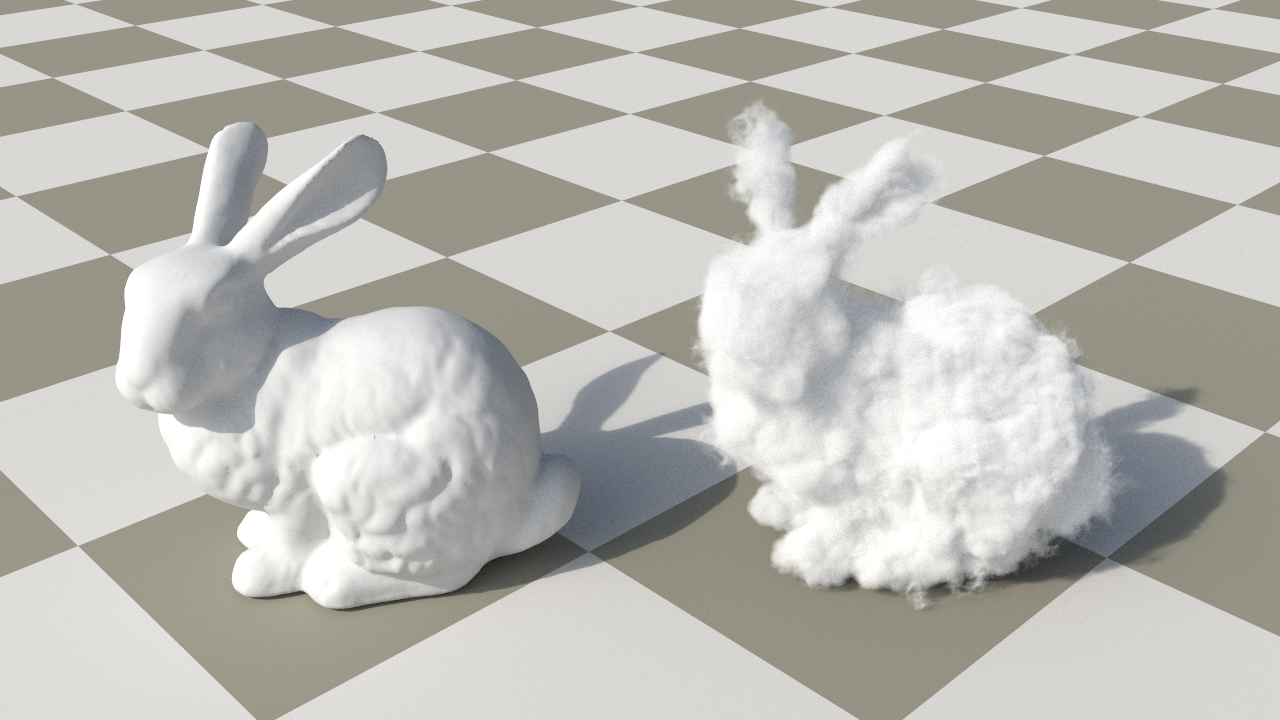
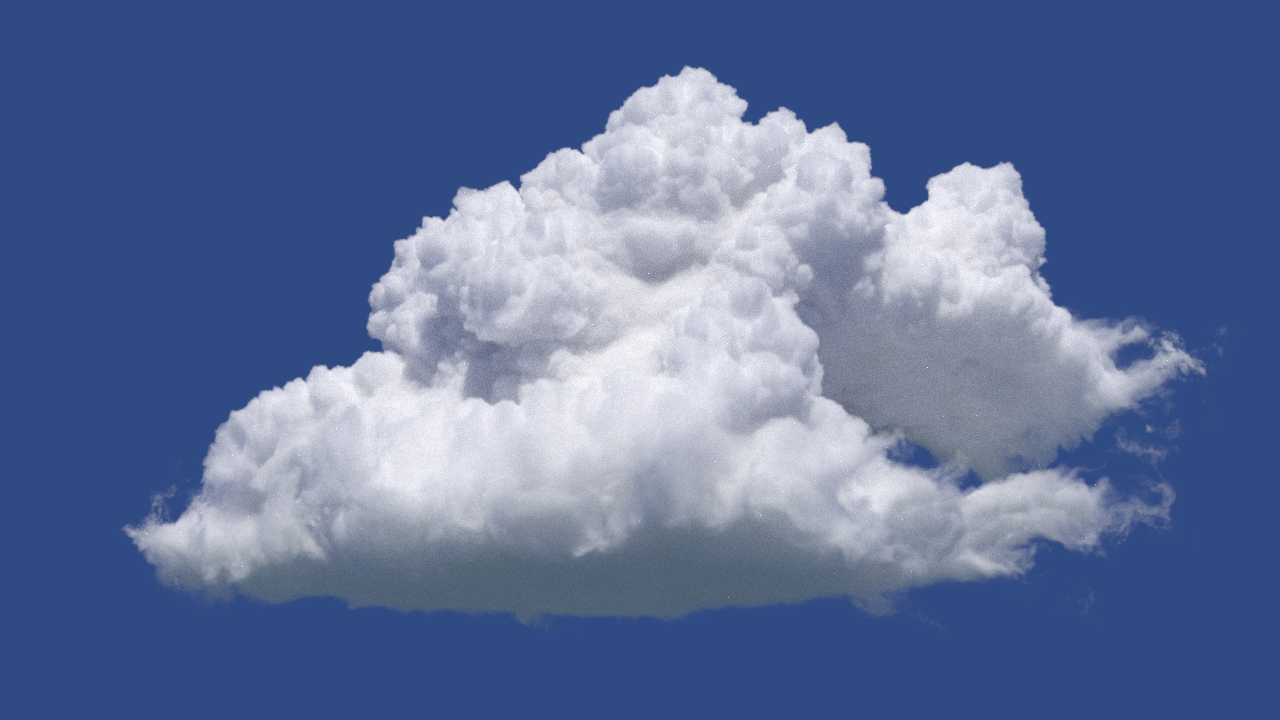
Volumetric path tracing and photon mapping
Implementing volumetric path tracing or photon mapping would allow you to render scenes with not just solid surfaces, but also scattering media like fog and clouds as shown in the examples below. We've already done some of the hard work for you: the darts basecode already supports loading NanoVDB volume data (a simplified form of OpenVDB, a standard file format used to represent volume data in the film industry). You just need to implement the remaining functionality to trace paths through the volumes to simulate volumetric scattering. We implemented both volumetric path tracing and volumetric photon mapping on top of the darts basecode. Talk to the course staff if you want tips on how to do this.
Scene resources
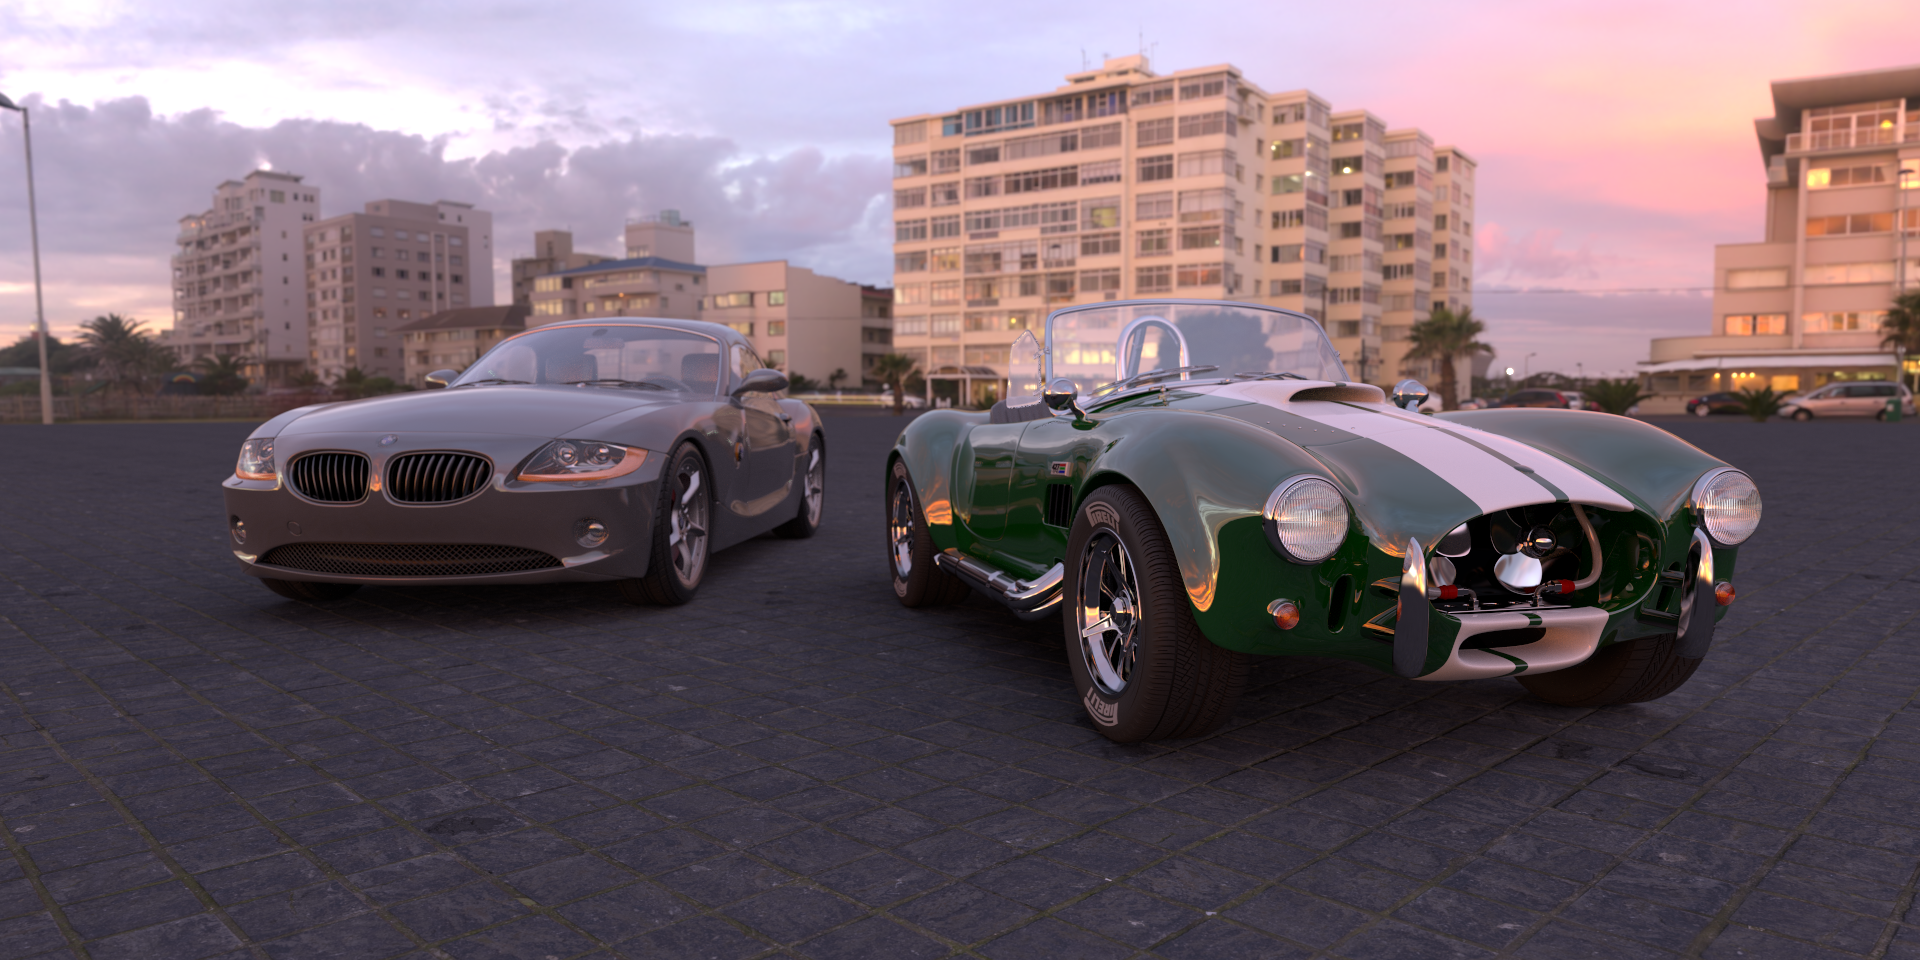
While adding new features it's good to have nice scenes and assets of test on. Some of the renderings shown above have been adapted from scenes provided in Benedikt Bitterli's Rendering Resources, McGuire's Computer Graphics Archive, Disney Animation's Cloud data set, PBRTv4's scenes, PolyHaven, or SketchFab. Blendswap is also a great resource. Consider converting some of these existing scenes. If you know how to use Blender, you could also create, modify, and export your scenes from Blender using our simple Blender add-on. The add-on does not automatically convert materials or textures, which have to be specified by hand, but it can be very useful for setting up the camera, and exporting its location as well as all the geometry. The cars scene below was created this way. You could consider extending our simplistic Blender exporter with more features as a technical task for your final project.