A1: Ray tracing
In this assignment, you will implement the basics of a ray tracer and render your first images. This assignment assumes you've completed the previous one - do not start here before you've completed Assignment 0!
This assignment relies heavily on Peter Shirley's book Ray Tracing in One Weekend, and (to a lesser extent) on Ray Tracing: The Next Week. Make sure you have copies of these at hand; you can get them for free on the author's website. We recommend reading the entirety of the first in One Weekend book before starting this assignment.
As always, all the places where you are expected to insert or edit code are marked with TODO. To help you with debugging, we provide you with reference images for every image you are expected to create in the references folder.
Task 1: Generating rays and using JSON
Open up src/darts_tutorial1.cpp. In main(), the code will call a series of functions. For now, all are commented out.
Each one of those functions expects you to implement something and will then test that functionality, and they will output information when you run the program. We've commented them out for now so as not to spam your terminal with too much information.

Go ahead and uncomment test_manual_camera_image(), and have a look at that function further down in the file. Follow the instructions in the code to generate rays over the image plane. The base code will convert your ray directions into pixel colors and write the image to scenes/assignment1/01_manual_ray_image.png.
Uncomment test_JSON and have a look at that function. This function teaches you about JSON, but it has a bug. Can you spot it? Fix it and have a look at function_with_JSON_parameters, which asks you to read some parameters.

Finally, uncomment test_camera_class_image() and go to that function. This function also generates rays, but this time it does it by calling the Camera:: method. Head over to camera.h. You will have to implement two things here: The camera constructor, which should read the "vfov" parameter from JSON to get the vertical field of view, and compute the size of the image plane and assign it to m_size; follow Chapter 11 in the Shirley book for this. Then you should implement Camera::. This function gets passed a pixel coordinate, and should output a ray, similar to what you did in test_manual_camera_image() – except that now, the size of the image plane is given by m_size. After you complete this task, you will have an output image in scenes/assignment1/01_camera_ray_image.png.
When you first implement Camera:: you may set all rays to start at the origin, but before you render some of the scenes at the end of this assignment you should read Chapter 12 and implement defocus blur by sampling the origin randomly from a disk.
Task 2: Transforms
In this task, you will learn how to use transforms.
Go ahead and uncomment test_transforms() and take a look at that function. This function makes use of the transform class, which knows how to transform points, vectors, normals and rays between spaces. This function will test your code, you don't have to do anything here – instead, open up transform.h and fill in the methods marked as TODO. Follow the instructions in the code. After you're done, run your code and make sure the output is correct (the base code will tell you).

After your transforms work correctly, uncomment test_xformed_camera_image() and head over to that function. This will write out another image of ray directions, but this time it will do it using a transformed camera. Open up camera.h to Camera:: and make sure you transform the ray into world space after you have generated it (hint: the camera transform is in m_xform). Multiply the ray by the transform.
If you did this correctly, scenes/assignment1/01_xformed_camera_ray_image.png will match the reference image.
Task 3: Spheres
With rays being generated correctly, you are now ready to intersect things!
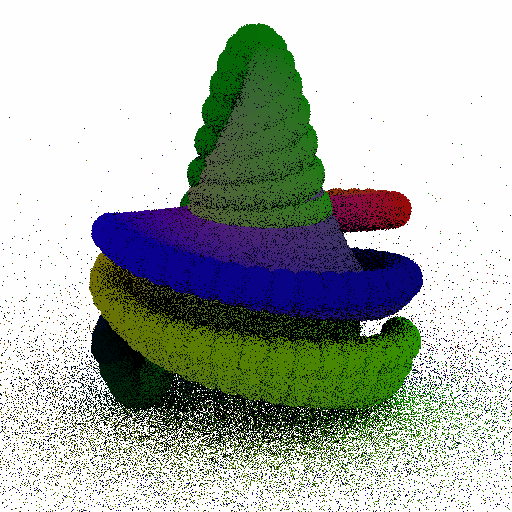
Uncomment test_ray_sphere_intersection() and head on over to that function. This function will intersect two different spheres and check if the results are correct. Open up sphere.cpp and look at Sphere::. You will need to implement code that intersects the sphere and, if the sphere was hit, fills in the hit struct with information about the intersection. You will need to figure out the hit distance, the intersection point and the hit normal. If you're unsure how to do this, check the lecture slides and Chapters 4–5 of the Shirley book.
The test code first checks your code for an untransformed sphere, and then for a sphere with a transform applied. To make the transform work, you will first need to transform the ray into the local coordinate system of the sphere, and then transform the hit normal/hitpoint back to the world coordinate system. If you are unsure how to transform things correctly, we have implemented an intersect routine for a quad in quad.cpp which you can use as inspiration.

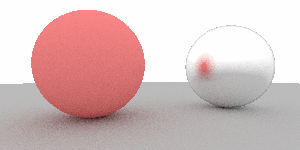
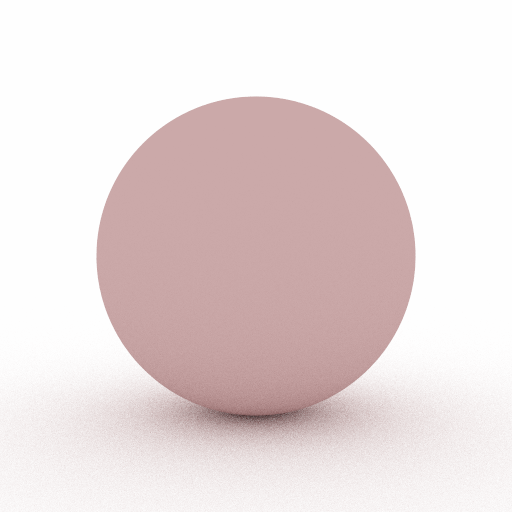
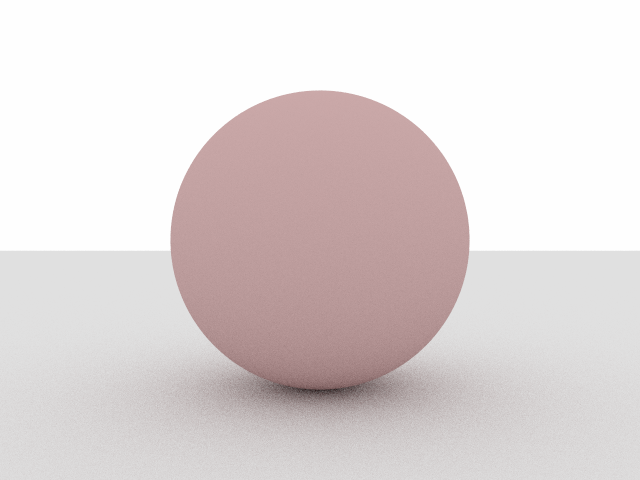
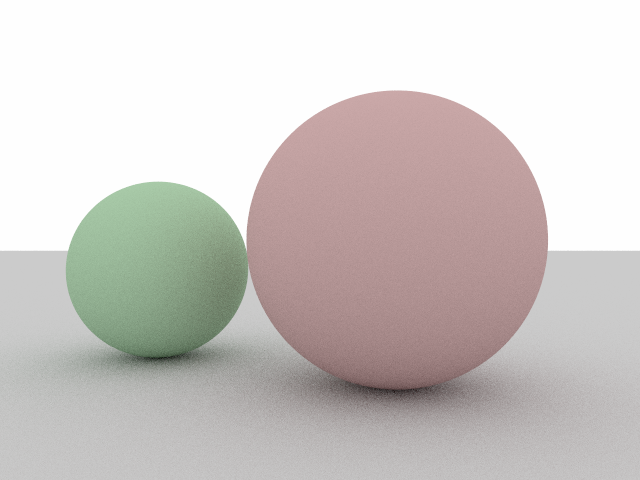
Uncomment test_sphere_image() and take a look at that function. It will raytrace an image of a sphere and save it as scenes/assignment1/01_xformed_camera_sphere_image.png; comparing that image to the reference might help you debug your sphere implementation if something isn't working right.
Task 4: Materials
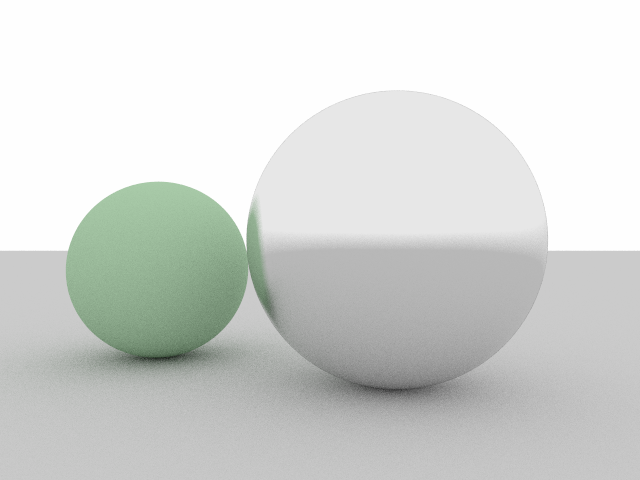
Uncomment test_materials() and take a look at that function. It instantiates a Lambertian and a Metal material and generates a scattered ray from it.
There are two functions you need to implement: Lambertian:: and Metal:: in src/materials/lambertian.cpp and src/materials/metal.cpp, respectively. Read the lecture slides and Chapters 8 and 9 of the Shirley book to get an idea for what you need to do. Please take a close look at the comments in the code - there is a small error in the text book, and we tell you how to avoid it.
The function test_materials() will generate a single scattered ray and check if the ray origin, direction and attenuation are correct. Because the scatter method is random, it is difficult to test, and there are multiple correct ways to implement this method. We provide test data using the "obvious" implementation, but maybe you did it differently - in that case you won't lose points if the next task still renders correctly. Take the results of our rudimentary autotester with a grain of salt.
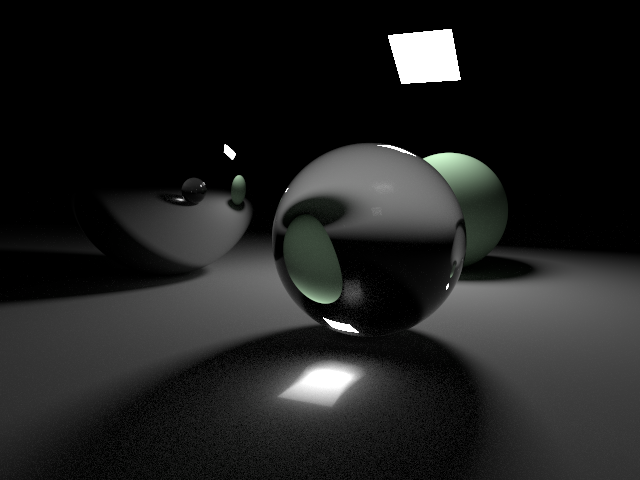
You also need to implement Dielectric::. You can follow the Shirley book (Chapter 9) for your implementation. After you have completed the entire assignment, you can run your renderer on scenes with glass to test/debug your implementation.
Task 5: Recursive Ray Tracing
If you've come this far, you have reached the home stretch of this assignment!
Go ahead and uncomment test_recursive_raytracing(). This function generates the first "real" scene with materials and light. Because the scattering off of materials is random, this function should trace multiple rays and average their results.
In test_recursive_raytracing(), you should implement a for loop that makes num_samples calls to recursive_color() in each pixel and averages the results.
Take a look at recursive_color. This function should trace a ray into the scene, and if it hits something, it should scatter off of the material that was hit and call recursive_color again to get the color of the scattered ray. You can take the pseudo code as inspiration for what you need to do.
If you've implemented it correctly, it will save an output image in scenes/assignment1/01_recursive_raytracing.png that should match the reference.
This task might be slow to run - if it takes too long, make sure you are compiling in _Release_ mode rather than _Debug_ mode.
Task 6: Scene Renderer
Finally, you can combine everything from the previous assignments by filling in the code in scene.cpp. Go to Scene:: and fill in the recursive ray tracing function.
This code is very similar (in fact, almost identical) to the code you've had in Task 5. You can copy in your code from task 5 to start you off. The Scene class has a dedicated Scene:: method that you should use to intersect geometry. Also your code should accumulate emission (if any) at each hit point. See the pseudocode for more details.
Finally, you should fill in Scene::. You can base this on test_recursive_raytracing() from the previous task to get an idea of how to implement this.
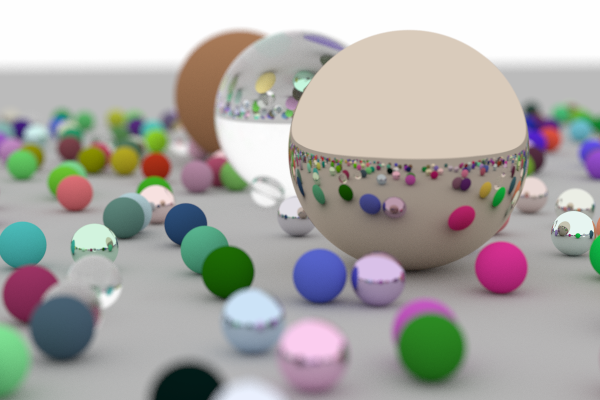
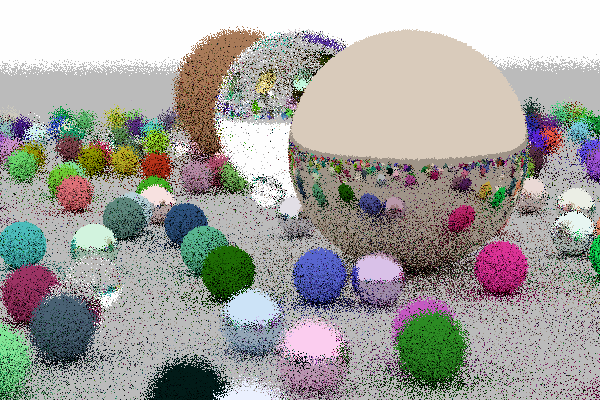
We provide you with a standalone renderer, darts, and a few test scenes that you can test your implementation with. Once you've implemented this task, take a look at the *.json files in scenes/assignment1. You can run the darts renderer on these scene files, using the terminal like so:

There are also a few example scenes built into darts, you can render those by running
darts example_sceneN
where N should be replaced with a number from 0 to 3.
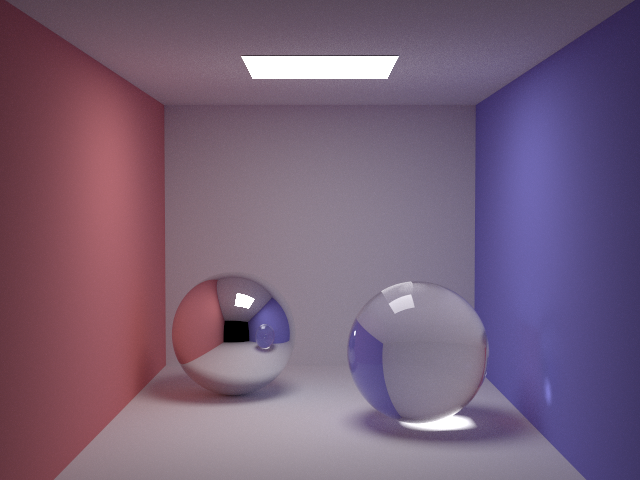
Run your renderer on each of these built-in scenes and the JSON scene files and compare the output to the reference images. If you've implemented all the tasks correctly, the images should match.
Be aware that depending on how you implemented your code, you might get differences in the noise patterns between your image and the reference. This is normal. However, if you "squint your eyes", the images should match.

What to submit
Submit according to the instructions in the Submitting on Canvas section of Getting started guide.