A0: Darts preliminaries
In this assignment, you will learn the basics of how to setup your programming environment, how to get the darts base code, and how to submit your solutions. This assignment is not difficult to do – and its only intention is to make sure you have a working development environment – but there is however quite a bit to read.
By the end of this assignment, you will have
- Cloned the base code git repository
- Setup your programming environment and successfully compiled the basecode
- Completed both parts of the programming assignment, explained below
Getting started with the code
Please go read the brief overview of our darts codebase.
Then, walk through the getting-started guide.
Once you've accepted the assignment, and added the base code repo, here's the TLDR for how to compile the code:
- Recommended: Get VS Code, install the C++ and CMake Tools extensions, then configure and build the project; or
In a terminal, configure and build as follows:
cmake -B build
cmake --build build --parallel
Programming Assignment
For the programming part of this assignment, you will need to familiarize yourself with the basecode that we provide and implement a few tiny changes to make things work.
Go ahead and open up src/darts_tutorial0.cpp. This is the file you will be editing for this assignment.
Don't be overwhelmed by the size of this file - the majority of it is comments and functionality provided by us to test your code.
Part 1: Vectors
For the first part of the programming assignment you need to learn how to use vectors and matrices in darts. Head over to void test_vectors_and_matrices() and read the comments to get started. Everything that you need to change has been marked with a TODO comment.
Part 2: Colors and Images
Head on over to void test_color_and_image() and read through the instructions. Everything that you need to change has been marked with a _TODO_ comment.
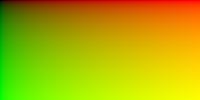
You will generate and write a gradient.png image, that should look like the one shown here.
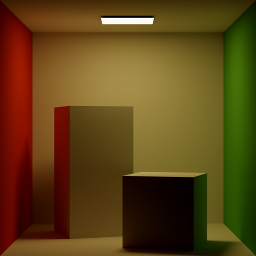
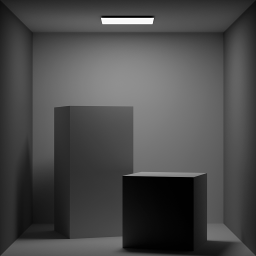
To complete the last part of the function, you should load the image in scenes/assignment0/cornellbox.png that comes with the base code, convert it to grayscale (as described in the code) and save it under scenes/assignment0/cornell_grayscale.png. The input image is shown below on the left; the expected output is shown on the right.
This handy way of showing off the differences between images is also available for you to use in your assignment project reports.
What to submit
Submit according to the instructions in the Submitting on Canvas section of Getting started guide.